BLOGPOST

Exploring the Night Sky: A Guide to Stargazing Apps and Apple Watch integration. 

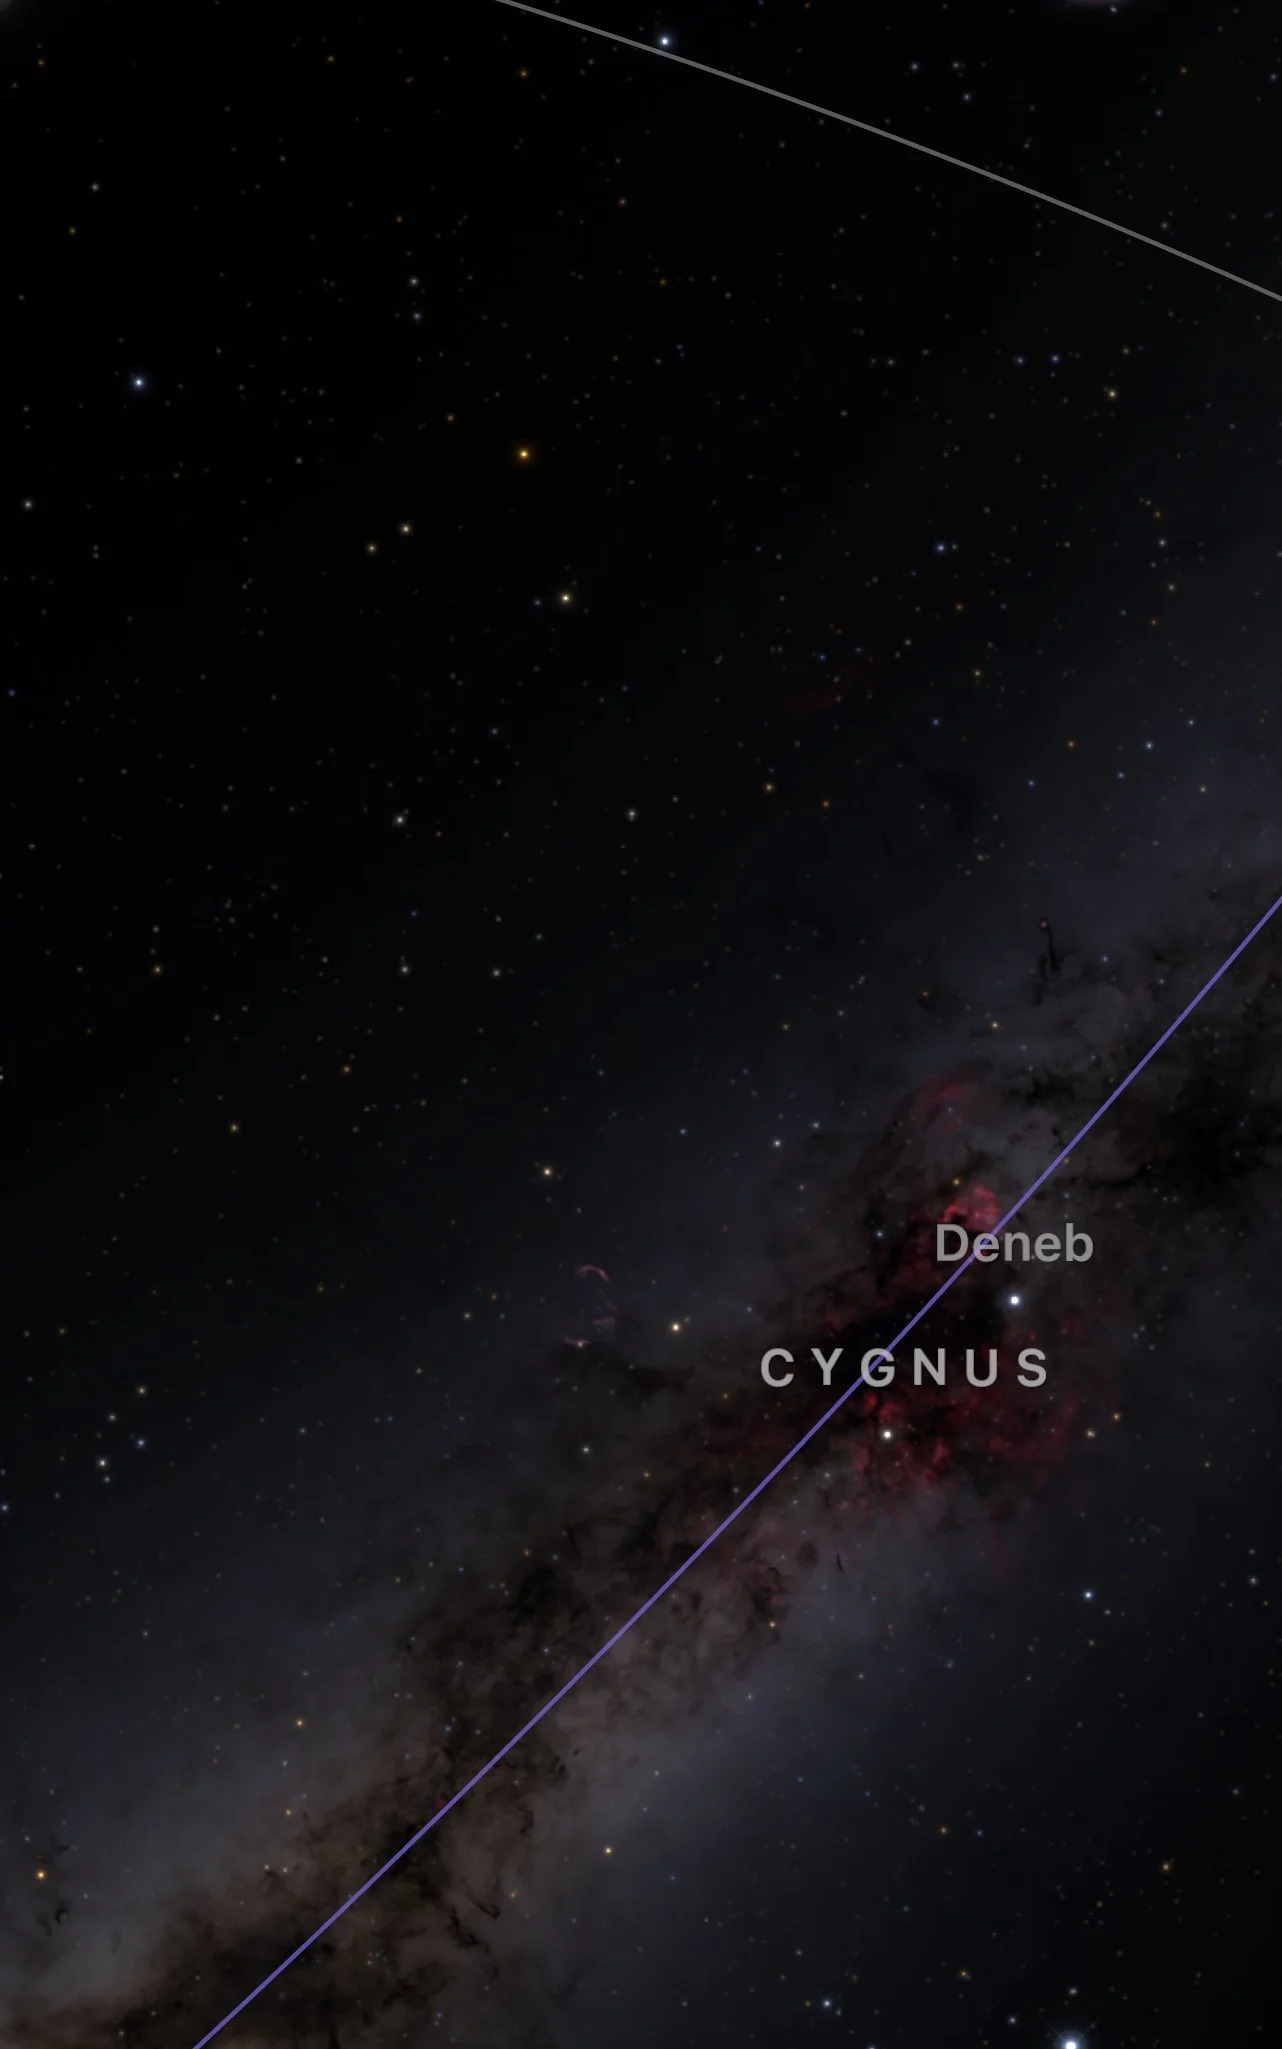
As someone who loves exploring the wonders of the night sky, I’ll admit—it can feel overwhelming at times. There’s so much to see, so much to learn, and honestly, I often forget what’s even up there. That’s why I rely on stargazing apps to guide me. Unlike our seasoned lead Star Guide, who can glance up and effortlessly tell you the story behind a constellation or name every star in sight, I’m more of a novice. But that’s where these apps shine. There’s something truly magical about pointing my phone at the sky and instantly seeing the names of stars, planets, and constellations light up on my screen. It’s like having a personal tour guide to the cosmos, right in my pocket.

That said, these apps are a helpful tool—not a replacement for the experience of an actual stargazing tour. On our tours, we encourage you to switch off your devices, immerse yourself in nature, and simply gaze at the wonder of the night sky. It’s a chance to explore the breathtaking locations of Fuerteventura, disconnect from the digital world, and reconnect with the universe in its purest form. But when you’re not on a tour, these apps can be a fantastic way to continue your journey of discovery.

Let me be clear—I’m no expert, and I’m not here to declare these as the absolute best apps available. But they are the ones I’ve personally tried, enjoyed, and found accessible without being pushed into a subscription right off the bat. 

A quick note: I tested all of these apps on my iPhone 15 Plus and Apple Watch SE (2nd Generation), so my experience is based entirely on the iOS ecosystem. I haven’t tried them on Android, but I imagine the experience would be similar, as most of these apps are available on both platforms.

Below, I’ll walk you through the ones I’ve tested (not in order of preference)—Sky TonightStar Walk 2Sky GuideNight SkyStellariumSkySafari, and SkyView Lite/SkyView.

Star Walk 2: My Most-Used App for Stellar Information

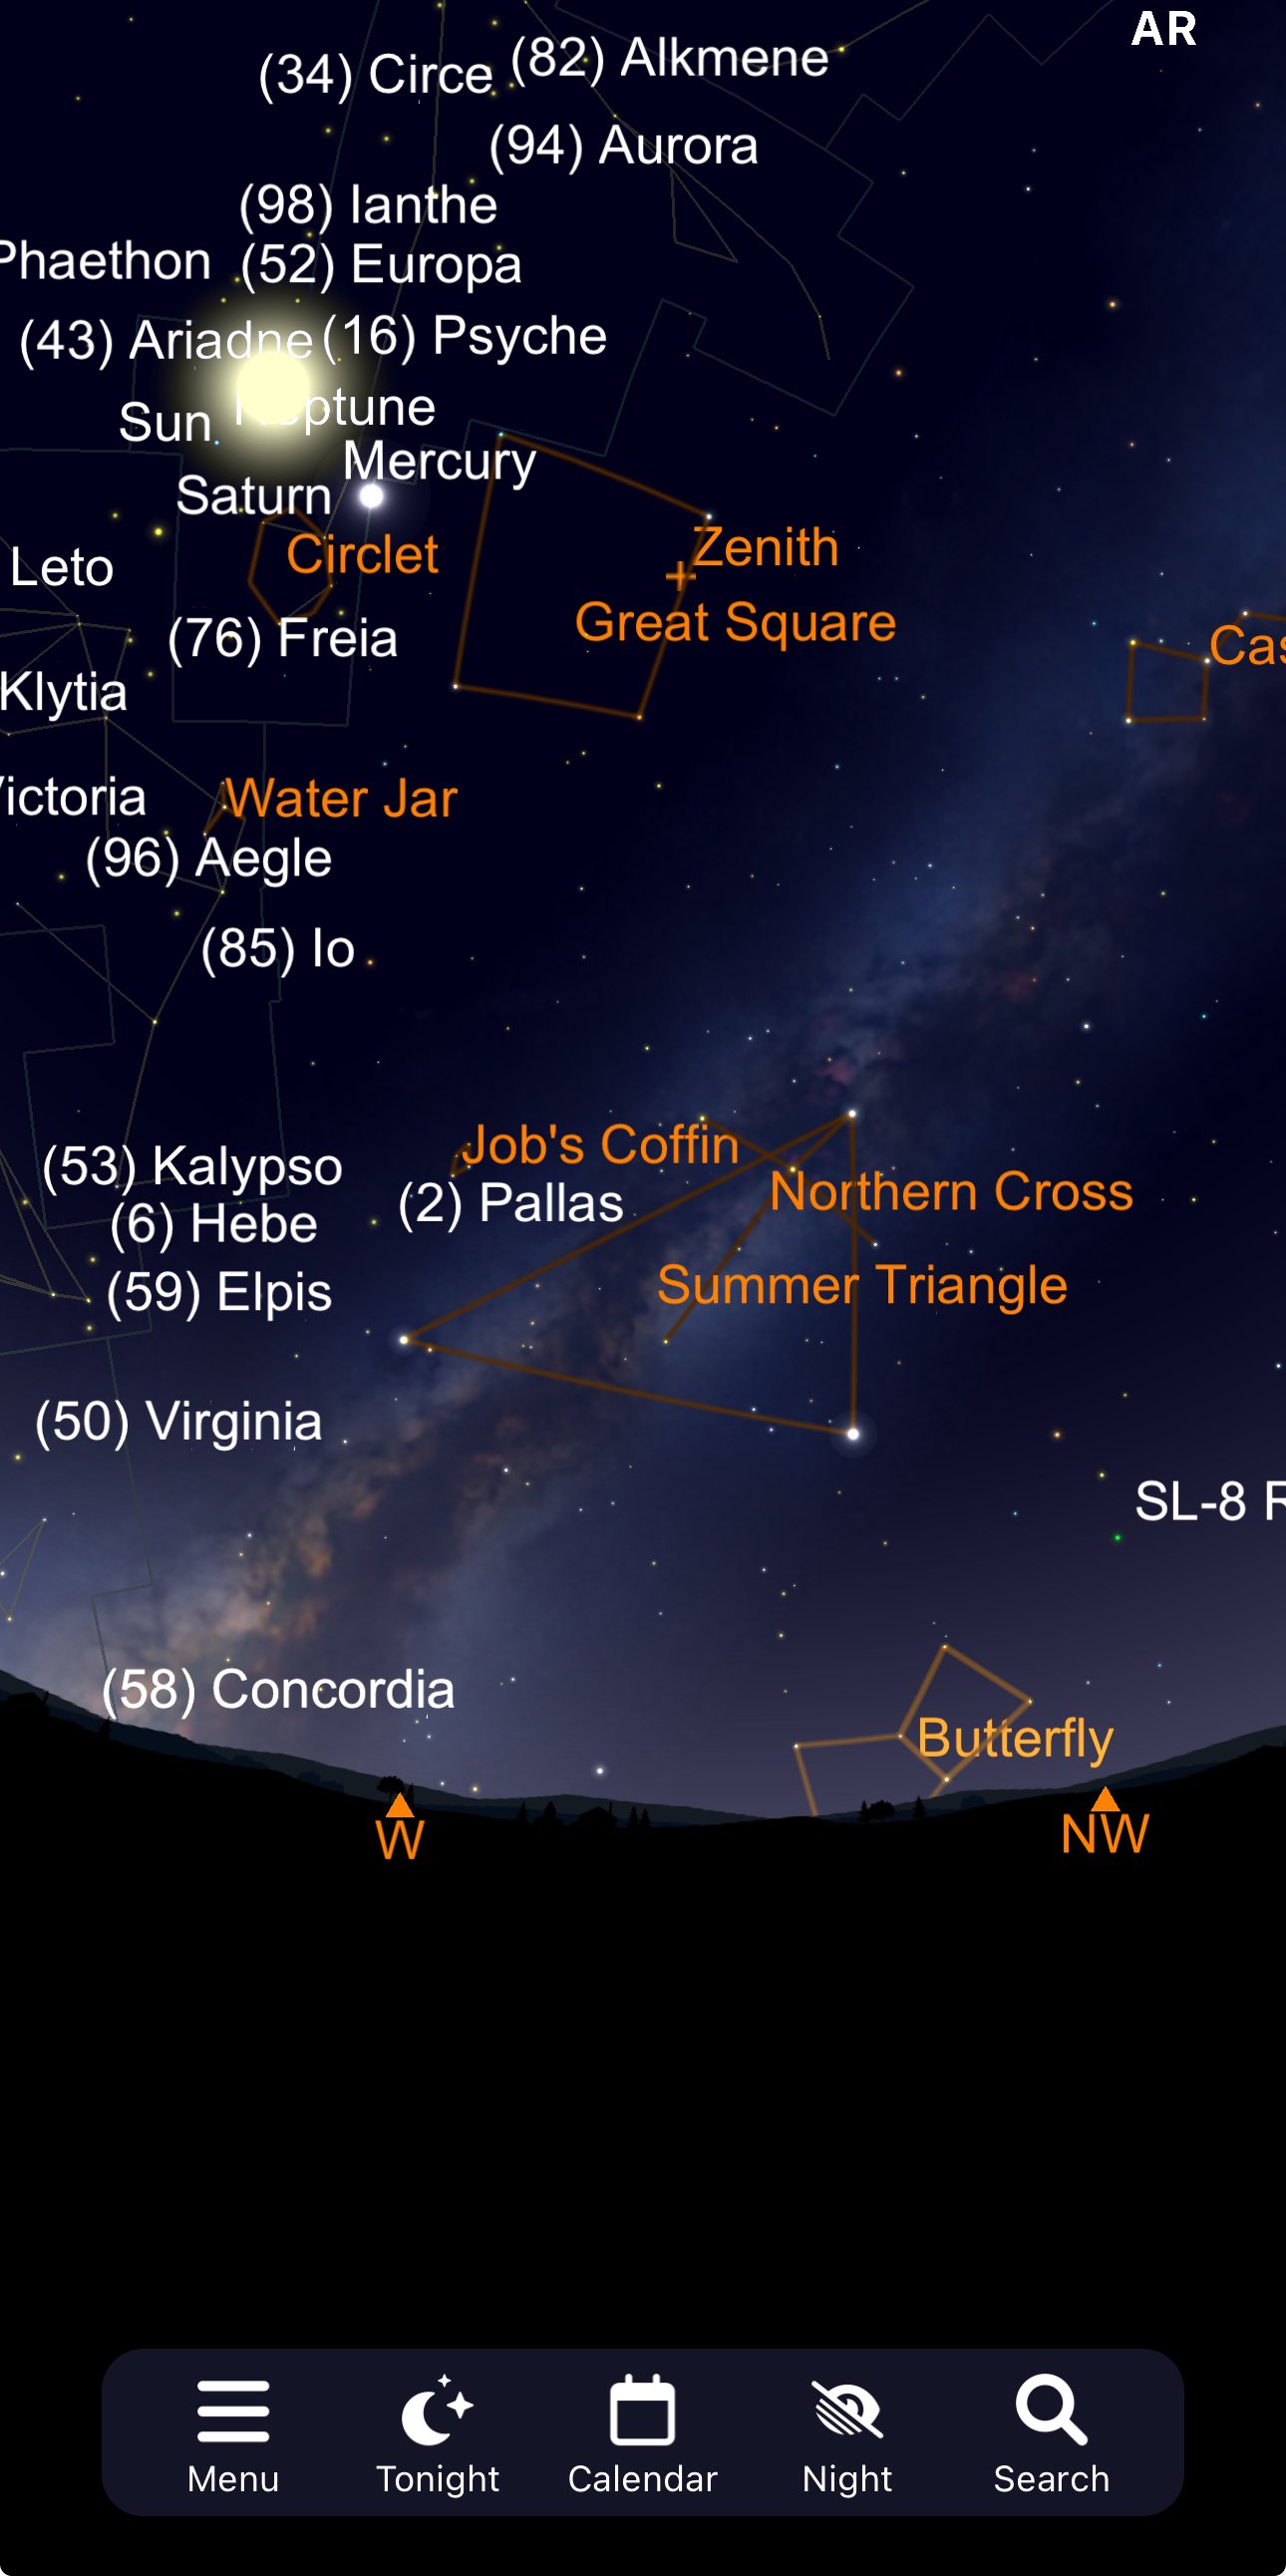
While Star Walk 2 isn’t necessarily my favourite app, it’s the one I’ve used the most because of its ease of understanding and ability to provide a general overview of the night sky. The interface is sleek, intuitive, and packed with detailed information about stars, planets, constellations, and deep-sky objects. Simply point your iPhone at the sky, and Star Walk 2 will identify what you’re looking at in real time. I love how it provides in-depth descriptions and historical context, making it feel like I’m carrying a portable planetarium in my pocket. The augmented reality (AR) feature is a standout, blending the night sky with your surroundings for an immersive experience.

Beyond its real-time sky mapping, Star Walk 2 offers handy features like Stargazing News, an Astronomy Calendar, and a section that highlights what’s visible tonight. There’s also a dedicated planet section for those who want to dive deeper into our solar system. While the app is free to use, there’s an optional lifetime subscription (currently €9.99 at the time of writing) that unlocks additional features—a small price to pay for such a powerful tool.

Night Sky: A Stellar Choice for AR and Apple Watch Integration

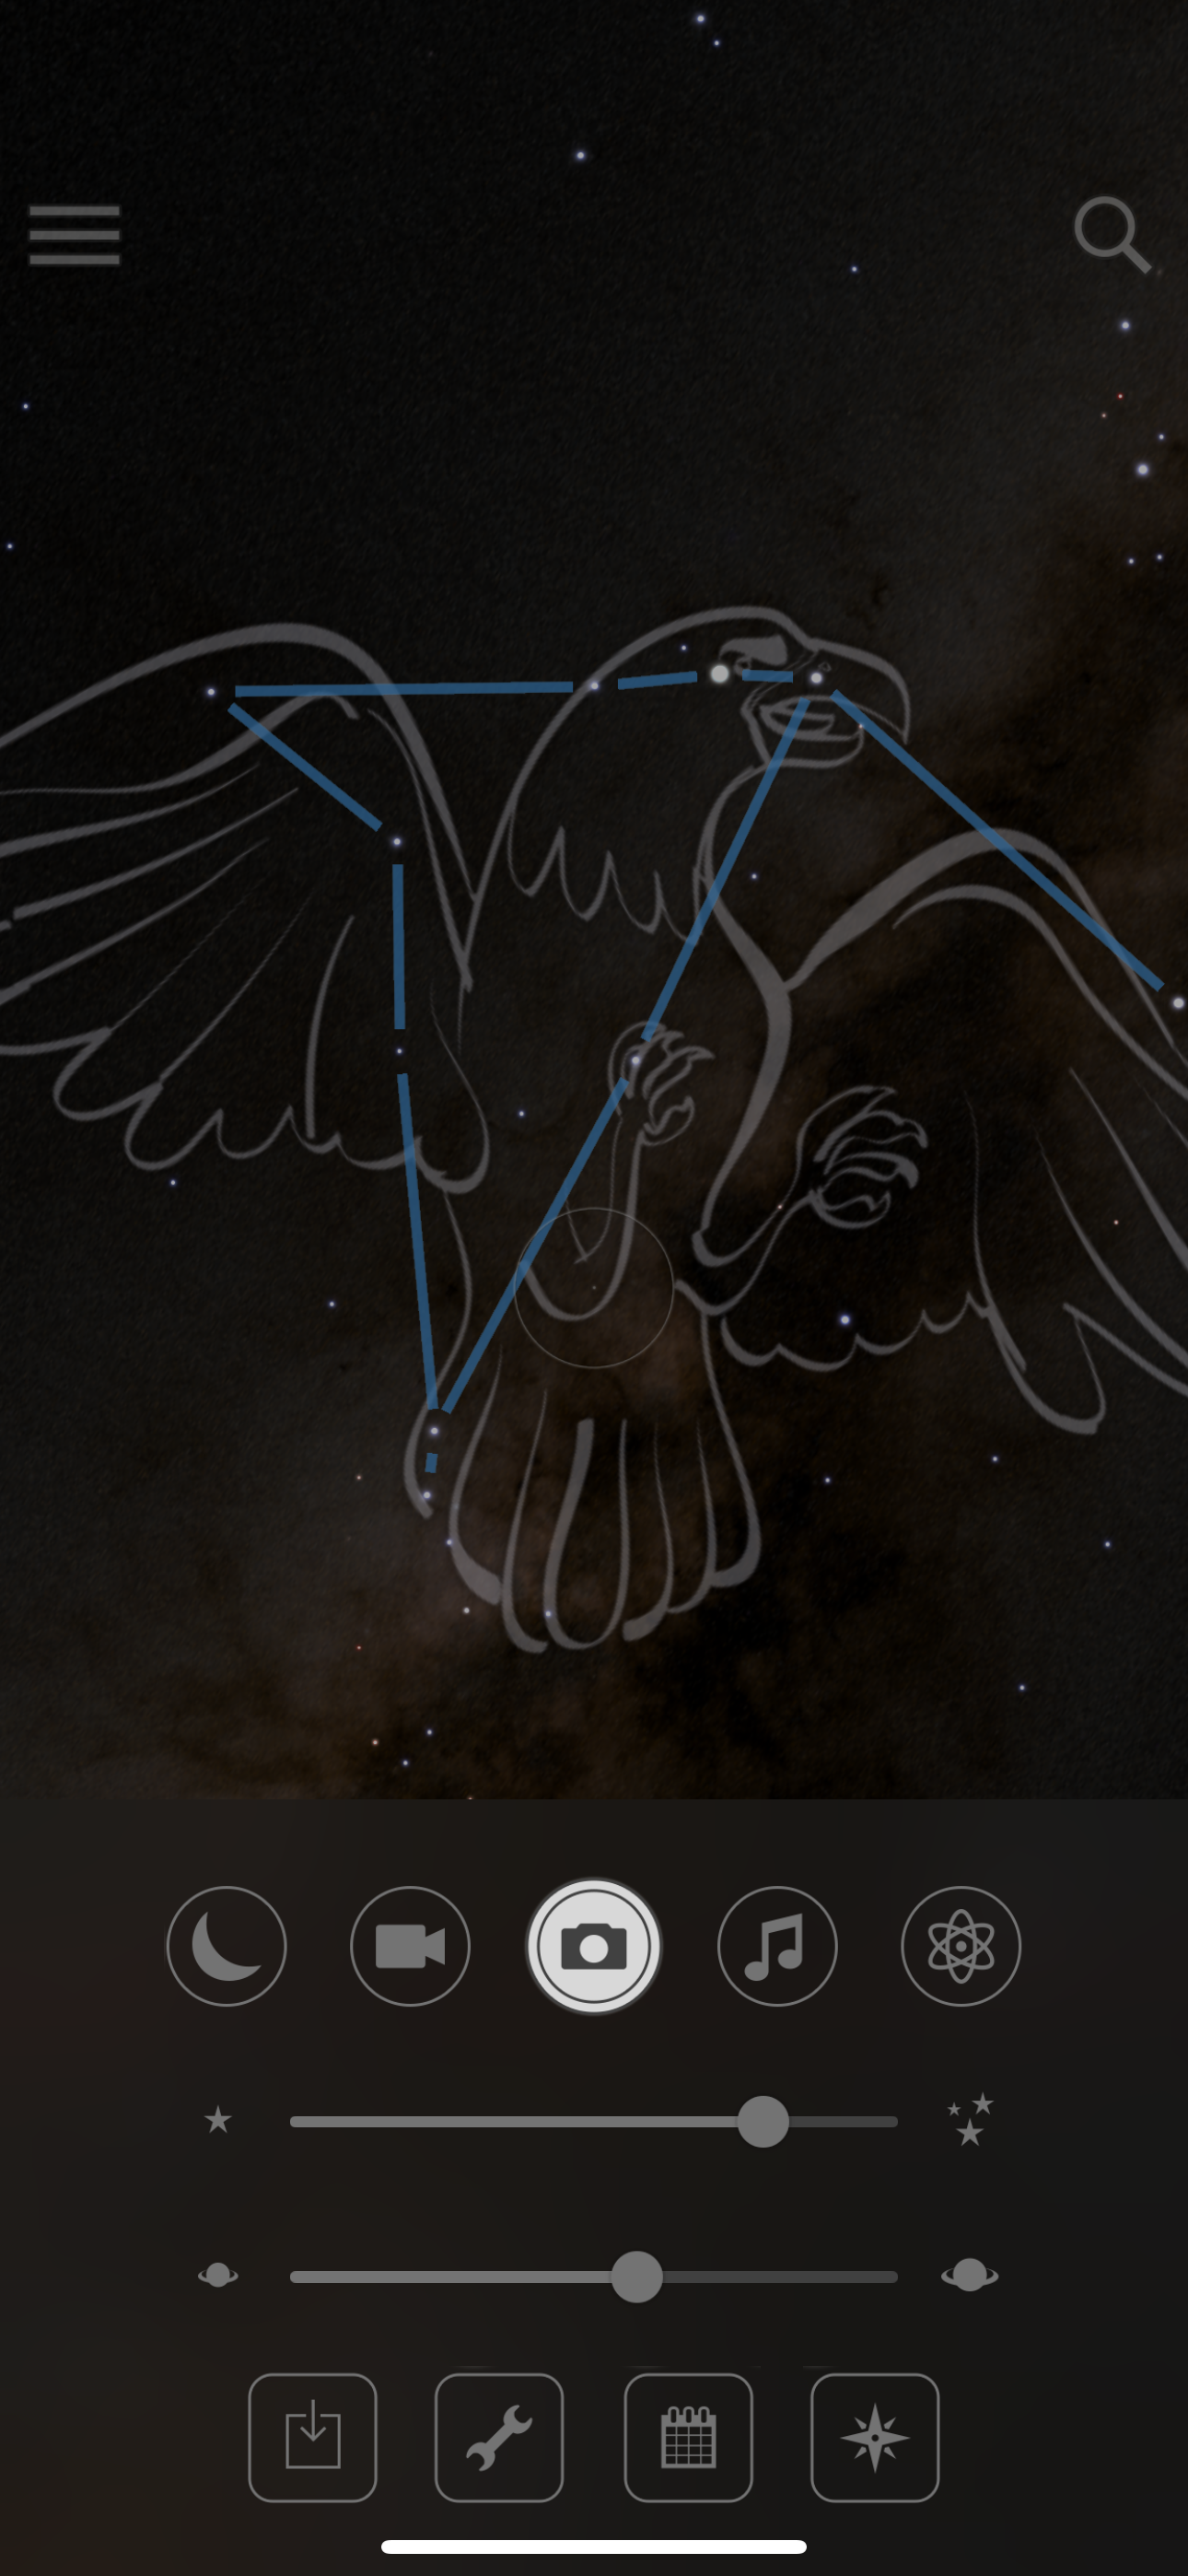
Night Sky is one of my favourite apps, especially for its stunning augmented reality (AR) features and seamless Apple Watch integration. The app overlays constellations, planets, and satellites onto your camera view, creating a magical experience that feels like stepping into a planetarium. What sets it apart is its customisation options—you can track specific objects, set reminders for celestial events, and even share your sky view with friends. It’s perfect for both casual stargazers and those who want a more personalized experience.

Apple Watch Integration

The Apple Watch app is where Night Sky truly shines. When you hold your watch level, it acts as a compass, guiding you to point at the sky. As you move your wrist, you can see the constellations above you. Tap on one, and it tells you what it is; tap again, and you get detailed information. I have added  a short video on the side to give you a visual guide. It’s incredibly intuitive and makes stargazing feel like a hands-free experience. I also love the gentle notifications on my wrist, alerting me when something interesting—like the International Space Station or a bright planet—is passing overhead.

Free Version Features

Night Sky offers a free version with a surprising number of features. You can track satellites (including Starlink), view constellation lines, explore mythology, add sky tags, check meteor shower forecasts, and even observe some deep-space objects. The app also lets you visualise the sky in different wavelengths, such as infrared, microwaves, radio, X-rays, gamma rays, ultraviolet, and more. If you grant camera access, you can view the sky in real time, blending the AR experience with your surroundings.

Astrophotography Section

One of the coolest features is the astrophotography section. If you give the app access to your camera settings on your phone, it helps you take stunning night photos by optimizing exposure, focus, and other settings for capturing the night sky. Whether you’re photographing the Milky Way or a meteor shower, this feature is a game-changer for anyone interested in night photography.

Subscription Options

For those who want to dive deeper, Night Sky offers a PLUS subscription. This unlocks advanced features like 1.7 billion stars with 10x zoom, aurora forecasts, AR planetary portals, and deeper customisation options. While the free version is fantastic for casual stargazers, the subscription is worth considering if you want to take your experience to the next level.

Sky Guide: Elegant Design and Insightful Features

While Sky Guide isn’t my favourite for Apple Watch integration, it’s still a beautifully designed app with some standout features, especially on the iPhone. Its clean interface and thoughtful details make it a joy to use, even if the Apple Watch experience is more basic.

Apple Watch Experience

On the Apple Watch, Sky Guide is fairly simple. When you first activate it, you’ll see the sun’s activity. Swipe from right to left, and you’ll get information about the moon and the International Space Station (ISS). While it’s handy for quick glances, it doesn’t offer much depth or interactivity compared to other apps. For me, Night Sky shines brighter on the Apple Watch. 

iPhone Experience

The iPhone app is where Sky Guide truly excels. It features a beautifully presented calendar of celestial events and curated posts that highlight interesting phenomena in the night sky. The app also includes rich mythology stories and constellation lines, adding a layer of storytelling to your stargazing. One of my favorite features is the ability to visualize satellites in different modes, including night vision, which makes tracking them easier and more immersive.

Subscription Options

Sky Guide offers a free version with basic features, but if you want to unlock its full potential, there are two subscription tiers:

  • PLUS: This tier gives you 100x more stars, meteor shower forecasts, access to 10,000+ satellites, and stargazing forecasts.

  • PRO: For serious astronomy enthusiasts, the PRO tier includes 1.7 billion stars, double and variable stars, exoplanets, and advanced UI options for a more tailored experience.

While the free version is great for casual users, the upgrades are worth considering if you want to dive deeper into the cosmos.

Sky Tonight: Perfect for Event Tracking

Sky Tonight is a newer addition to my stargazing toolkit, but it’s quickly become helpful for tracking upcoming celestial events. The app provides a detailed calendar of meteor showers, eclipses, and planetary alignments, ensuring you never miss a cosmic spectacle. Its user-friendly interface makes it easy to navigate, and the AR feature is a nice touch for identifying objects in real time. As the name suggests, it’s packed with concise, practical information that’s perfect for both casual stargazers and astronomy enthusiasts.

Free Version Features

The free version of Sky Tonight offers a solid starting point. You can track three planets, one satellite, and stars, which is great for basic stargazing. The calendar view is particularly helpful, allowing you to see all upcoming events at a glance. It’s a fantastic tool for planning your nights under the stars.

Subscription Options

While the free version is useful, it does have some limitations. For full access to all features, including additional planets, satellites, and advanced event tracking, you can unlock everything with a lifetime purchase. At the time of writing, this one-time payment is €14.99, which is quite affordable compared to subscription-based models. This upgrade unlocks the app’s full potential, making it a worthwhile investment for serious stargazers

Stellarium: For the Purists

If you’re looking for a more traditional stargazing experience, Stellarium is the way to go. Known for its accuracy and realistic sky rendering, this app is a favourite among amateur astronomers and purists who value precision over flashy features. While it doesn’t have as many bells and whistles as some of the others, its simplicity and depth make it a reliable tool for serious stargazers.

Key Features

Stellarium offers an impressive array of features for a one-time purchase of €19.99 (at the time of writing). This includes:

  • 1.6 billion stars: A vast catalog for exploring the night sky in incredible detail.

  • Planets and moons: High-resolution images and detailed information about planets and their moons.

  • Deep-sky objects: Access to over 2 million deep-sky objects, including galaxies, nebulae, and star clusters.

  • Asteroids and comets: Track thousands of asteroids and comets with up-to-date data.

  • Rise and set times: Easily check when celestial objects will be visible.

  • Telescope and camera support: Perfect for astrophotographers and those using telescopes.

  • Calendar and observing tools: Plan your stargazing sessions with precision using the built-in calendar and visibility tools.

User Experience

One of the standout aspects of Stellarium is its clean, no-frills interface. It’s designed to mimic the view of the night sky as accurately as possible, making it feel like you’re looking through a high-quality telescope. The app also allows you to adjust settings like light pollution levels, field of view, and time flow, giving you complete control over your stargazing experience. While it may not have the augmented reality (AR) features of some other apps, its focus on realism and detail is perfect for those who want to learn and explore without distractions.

How It Compares - Compared to apps like Star Walk 2 or Sky Guide, Stellarium is less about convenience and more about depth. It’s not as intuitive for beginners, but for those willing to invest a little time, it offers unparalleled detail and accuracy. If you’re someone who loves diving into the science of astronomy or planning detailed observing sessions, Stellarium is a must-have.

Why Choose Stellarium? Stellarium is ideal for those who value accuracy and depth over flashy features. Its no-nonsense approach and comprehensive database make it a go-to app for anyone serious about astronomy. While the one-time purchase might feel steep compared to free apps, the wealth of features and lack of ongoing subscription fees make it a worthwhile investment. Plus, the ability to integrate with telescopes and cameras adds a layer of functionality that’s hard to beat.

SkySafari: A Powerhouse for Astronomy Enthusiasts

SkySafari is another app that caters to the more serious crowd, offering an extensive database of celestial objects and advanced features that make it a favourite among astronomy enthusiasts. While it might feel a bit overwhelming for beginners, it’s an invaluable resource for those who want to dive deep into the cosmos. Whether you’re planning an observing session, controlling a telescope, or just exploring the night sky, SkySafari has you covered.

Key Features

SkySafari’s free version is already packed with useful tools, but the Premium tier takes it to the next level. Here’s what you can expect:

  • Massive Deep-Sky Database: Access over 13,000 galaxies, nebulae, and star clusters, making it one of the most comprehensive stargazing apps available.

  • Celestial Events: Stay updated on moon phases, meteor showers, eclipses, and other astronomical events with detailed descriptions and reminders.

  • SkyCast: Get personalized forecasts for optimal stargazing conditions based on your location.

  • Community Features: Share your observations, join a community of like-minded stargazers, and even sync your data across devices.

  • Light Pollution Map: Plan your stargazing trips by checking light pollution levels in your area or elsewhere.

Telescope and Observation Tools

One of SkySafari’s standout features is its ability to control compatible telescopes directly from your iPhone. This makes it an excellent tool for amateur astronomers who want to take their observing sessions to the next level. The app also includes detailed information blurbs for celestial objects, helping you learn more about what you’re viewing.

Why Choose SkySafari?

SkySafari is perfect for those who want a more technical and detailed stargazing experience. Its advanced features, telescope integration, and massive database make it a powerhouse for astronomy enthusiasts. While the Premium, Plus, and Pro subscriptions are required to unlock its full potential, the free version still offers plenty of tools for casual stargazers. If you’re serious about astronomy or love exploring the night sky in depth, SkySafari is well worth the investment.

Premium Experience

While the free version is impressive, SkySafari offers additional tiers:

SkySafari 7 Plus: This tier includes an expanded database, enhanced telescope control, and more advanced observation tools. It’s ideal for intermediate users who want a deeper experience.

SkySafari 7 Pro: Designed for serious astronomers, this tier offers the most comprehensive features, including a massive catalog of stars, planets, and deep-sky objects, as well as advanced tools for planning and recording observations. It’s perfect for professionals or dedicated hobbyists.

While I’ve only tried the free version, the Plus and Pro options seem like they’d be worth exploring if you’re looking for even more depth and functionality.

SkyView Lite: Simple and Accessible

For a no-frills stargazing experience, SkyView Lite is a great option. It’s lightweight, easy to use, and perfect for casual observers. Just point your phone at the sky, and it’ll identify stars, constellations, and planets. The Lite version is free, making it an excellent choice for anyone who wants to dip their toes into stargazing without committing to a paid app.

Free Version Experience

I tried the Lite version first, and it’s fantastic for simplicity. The interface is clean and intuitive, making it ideal for beginners or anyone who just wants a quick way to identify what’s in the sky. It’s not as feature-rich as some of the other apps, but it gets the job done without overwhelming you with information.

Premium Version

For just €2.99 (at the time of writing), you can upgrade to the Premium version, which unlocks a host of additional features:

  • Stargazing Events: Get notifications for celestial events like meteor showers and planetary alignments.

  • Satellite Sightings: Track satellites, including the International Space Station (ISS).

  • Today Widget: Quickly check what’s in the sky from your iPhone’s Today View.

  • Night Mode: Protects your night vision with a red-tinted screen.

  • Augmented Reality Sky Paths: Visualize the paths of stars, planets, and satellites in real time.

  • Comprehensive Planets and Satellites: Access detailed information about planets, moons, and satellites.

  • Constellations: Explore constellations with detailed overlays and descriptions.

Why Choose SkyView ?

SkyView Lite is perfect for casual stargazers who want a straightforward, no-fuss app. The free version is great for quick sky identification, while the Premium version offers enough extra features to make it worth the small investment. While the Apple Watch integration didn’t work for me (While the app claims to support Apple Watch, I couldn’t get it to sync or appear in the apps available on my watch), the app’s simplicity and accessibility make it a solid choice for beginners and casual users alike.

Why I Love Combining These Apps

Each of these apps brings something unique to the table, and I find myself switching between them depending on my mood and needs. I mainly use Night Sky for its Apple Watch prompts and AR features and help with taking photos at night. Star Walk 2 for its articles and upcoming event information, Stellarium for its detailed star map, and SkyView for its simplicity. I also enjoy the overall calendar and event tracking in Sky Tonight. Most of the time, I stick to the free versions, which are more than enough for casual stargazing. Together, these apps have turned my iPhone and Apple Watch into the ultimate stargazing companions.

Tips for Getting the Most Out of These Apps

  • Use AR mode: It’s a game-changer for identifying objects and understanding their positions in the sky.

  • Enable Apple Watch notifications: Apps like Sky Guide make it easy to stay updated without constantly checking your phone.

  • Check for updates: Many of these apps add new features and events regularly, so keep them updated for the best experience.

  • Combine apps: Don’t be afraid to use multiple apps to get the most comprehensive view of the night sky.

Whether you’re planning a night under the stars or just curious about what’s above you, these apps can turn your iPhone and Apple Watch into powerful tools for exploring the cosmos. Happy stargazing!

Marisa

A Brighter Christmas, A Darker Future?

Even though Christmas has passed, the festive spirit lingers here in Fuerteventura! Our Christmas tree remains proudly displayed, twinkling with lights. And the celebrations continue, as we eagerly await the arrival of the Three Kings on Dia de Reyes.

Christmas lights! They transform our neighborhoods into twinkling wonderlands, casting a festive glow on the season. But as we string up those dazzling displays, it's worth considering the potential impact of our holiday cheer.

The dazzling spectacle of Christmas lights comes at a cost, not just to our wallets (though those energy bills can certainly add up!), but to the environment and even our own health.

The sheer volume of holiday lights creates a blanket of artificial light, washing out the stars and disrupting the natural night sky. This "light pollution" isn't just a nuisance for astronomers and stargazers. It confuses wildlife, disrupts their natural rhythms, and can even harm their delicate ecosystems. Imagine a tiny insect drawn to a brilliant streetlight, circling and circling until it's exhausted and disoriented. Or picture a migrating bird, its natural navigation severely impacted by the city's glow, losing its way and struggling to find its destination.

Furthermore, all that artificial light at night can wreak havoc on our sleep cycles. It becomes harder to fall asleep, sleep quality suffers, and individuals often wake up feeling groggy and unrefreshed. This can lead to mood swings, difficulty concentrating, and even serious health problems down the line.

So, what can we do? Can we still enjoy the magic of the season without sacrificing our environment and our well-being? Absolutely! Here are a few simple steps individuals can take:

  • Embrace energy-efficient LEDs: They use less energy and produce less heat, making them a much greener choice.

  • Embrace timers: Set timers to automatically turn off lights when individuals are asleep or away from home.

  • Shield your lights: Direct the light downwards to minimize light pollution and reduce glare.

  • Choose warm-colored lights: They're less disruptive to wildlife and create a more cozy, festive atmosphere.

  • Support your local "Dark Sky" initiatives: Join a local organization or participate in community events that raise awareness about the importance of preserving the night sky.

This holiday season, let's make a conscious effort to be more mindful of our lighting choices. By making small adjustments, we can create a brighter Christmas for everyone while ensuring a sustainable future for generations to come.

Christmas. What are its origins? And what is the connection to the Winter Solstice?

The Origins of Christmas stem as far back as Pagan Roman times. The festival was called Saturnalia, an ancient Roman celebration of the God Saturn, which lasted from Dec 17th-23rd. The God Saturn, is usually connected with the Greek Cronos, but it was the Romans who actively worshipped the God, associating him with agriculture and abundance. Saturnalia was a raucous affair! A time where anything goes and the boundaries between Master and Slave no longer exist, implying freedom and the equal standing of all people. Gifts were also exchanged and gambling, drinking and playing games was seen as the norm. Nobody was to work during this time. The Romans saw it as returning to the Golden Age, when the God Saturn ruled over Earth. It was a time of Universal harmony and Saturnalia was a way of spreading that love. Other accounts are that it was more an excuse for illicit activity and that it was only the children of the Masters who served the Slaves. We will never know, but the similarities between Saturnalia and Christmas are undeniable with drinking, feasting, sharing gifts and not working as the main component

The Winter Solstice has been celebrated on the 21st or 22nd of December since ancient times. In the Norse tradition, the Winter Solstice celebrated the rebirth of Sol with offerings to Freyr. In ancient Persia and Iran, honoring Mithra is called Yalda. In the Ancient Roman pantheon, the feast of Saturnalia honored the Gods of Harvest and Plenty, Saturn and Ops. To them, the sun decreasing in visibility as the days of the year moved forward spoke of the dying of the sun. They believed that at the time of the winter solstice the sun actually needed to be reborn so that it could live another year. That’s why, in their religious superstition, they organized annual festivals that were held during the days just before and after the day of the winter solstice. These festivals were celebrations dedicated to the sun god, whatever name that god went by. December 25th, then, was celebrated with a feast to commemorate the birth (rebirth) of the sun.

In English, the world solstice comes from the Latin word solstitium, meaning "sun standing still". It seems to suggest a brief pause as the sun reaches its most extreme Southerly point (as experienced on Earth) before the direction of travel is reversed, resulting in the shortest day and longest night of the Year. On a spiritual level, it teaches us about resilience and hope in the face of darkness. The Sun will rise again, even after the longest night of the Year, bringing new beginnings and brighter days. It's a time to reflect on your inner light and the continuous cycle of growth and renewal.

So the origins of Christmas are based on pagan celebrations, that were slowly transitioned into more christian ideologies and later emerged into the modern Christmas that we celebrate around the globe today.

Capture the Magic: Night Photography in Fuerteventura

photo courtesy of Simon Waldram Photography

Photography can be about capturing the essence of a moment, weaving a narrative, and connecting with the viewer on an emotional level. As the saying goes, 'Without the darkness we can not see the light,' just because we can´t see it, does not mean it´s not there. Night photography shows us what our eyes can´t see. By embracing the darkness, we unlock a world of hidden beauty, where the stars shine brightly and the cosmos unfolds its wonders.

One technique that constantly captivates is long exposure, with its ability to transform ordinary scenes into something ethereal and dramatic. And what better subject for this transformative technique than the night sky? A realm of endless wonder and a canvas of twinkling stars, the night sky has captivated stargazers and photographers for generations. Combining these passions allows us to not only observe the cosmos but also capture its ethereal beauty, creating a truly enriching experience. Fuerteventura can offer  a stargazer's paradise—the perfect location to merge astronomy with the magic of night photography. Here's your guide to capturing the magic of Fuerteventura's night sky.

Why Fuerteventura is Ideal for Stargazing and Night Photography (and what to consider):

Dark Skies, a Valuable Asset: Fuerteventura's commitment to minimizing light pollution as a Starlight Reserve creates the potential for outstanding stargazing and night photography.

Weather and Atmospheric Conditions: While the Canary Islands generally have favorable weather, cloud cover and calima are factors to consider. Successful stargazing and photography require careful planning, including checking weather forecasts and being flexible with your schedule to take advantage of clear nights.

Diverse Landscapes: From volcanic landscapes to pristine beaches, Fuerteventura offers diverse foregrounds to complement your night sky images.

Planning Your Stargazing and Photography Trip:

Check the Moon Phase: A new moon (when the moon is not visible) provides the darkest skies for stargazing and capturing faint celestial objects.

Weather Forecast: Look for clear skies and calm conditions. Websites like Meteoblue or AEMET (Spanish Meteorological Agency), Windy can provide detailed forecasts. Always look up and constantly check, what was true in the morning may change by the evening. 

Location Scouting: Explore potential locations during the day to identify interesting foreground elements and ensure safe access at night. Inland areas away from towns: Provide the darkest skies.

Timing: The best time for stargazing is typically a few hours after sunset, once the sky is fully dark.

Here are some tips for capturing stunning images in low-light conditions:

Fast Lens: A lens with a wide aperture (f/2.8 or wider) is crucial for gathering as much light as possible.

Sturdy Tripod: Essential for long exposures, ensuring sharp images.

Remote Shutter Release: Minimizes camera shake for crisp shots.

Extra Batteries: Cold temperatures drain batteries faster, so bring spares.

Red Light Flashlight or Headlamp: Red light preserves your night vision.

Manual Mode: Provides full control over settings.

Aperture: Use the widest aperture your lens allows for maximum light.

Shutter Speed: Start with a longer shutter speed (e.g., 10 seconds) and adjust as needed.

ISO: Keep it as low as possible to minimize noise, but increase if the image is too dark.

White Balance: Adjust according to the light source (e.g., Tungsten for city lights). 

Focus: Use manual focus and zoom in to ensure sharpness.

Night photography can be a rewarding experience for photographers of all levels. ..


Ready to take your photography to the next level and unlock the secrets of capturing the night sky?

Join us for our Night Photography Workshop in Fuerteventura this June, from June 22 to June 28 2025!

This workshop will provide a comprehensive learning experience, covering everything from the fundamentals of night photography to advanced techniques for capturing specific celestial phenomena. We'll delve into camera settings, composition strategies, light painting, and post-processing workflows.

Visit www.starsbynight.es/photographyworkshop to learn more and register.

photo courtesy of Simon Waldram Photography

....AUGUST 2018 NIGHT SKY.. AUGUSTO 2018 CIELO NOCTURNO....

Photo 12-11-2018, 10 13 11 (1).jpg

….August is the month most expected by everyone who loves the shooting stars. The Perseids, called locally Tears of Saint Lawrence, are back and around the 12th of the month they are filling our island's skies with their brilliant lights. This year too, the absence of the Moon and the presence of the 4 major planets will make this event even more special, if possible. As a long time tradition, the Antigua's municipality organizes a public and free observation in the Prehispanic village of La Atalayita (information in 928 549653), but you can admire them from all the dark places of the island.

And back to the planets, in the Firmament it's easy to find Venus to the West in the first hours after sunset, while Jupiter shines very high during most of the night. A telescope reveals his dark atmospheric bands and his 4 major satellites, bright dots dancing restlessly around the giant. From the East, Saturn will leave you incredulous when admiring his famous rings, and sometimes also a few of his more than 60 satellites. Mars, the Red Planet, destination of so many exploring missions, is also reaching this area following his apparent retrograde movement.

The Moon accompanies us in the second part of the month. Her mountains, her seas and her craters are all a surprise due to their sharpness and closeness through the telescope, leaving us fascinated every time we admire them.

Clear skies to everybody! ..

Agosto es el mes más esperado por todos los amantes de las estrellas fugaces. Vuelven las Perseidas, las Lágrimas de San Lorenzo, que alrededor del 12 de este mes llenan los cielos de nuestra isla con sus brillantes destellos. Este año, la ausencia de Luna y la presencia de los 4 planetas mayores en el cielo nocturno hará de este evento algo aún más especial. Como ya es tradición, el Ayuntamiento de Antigua organiza una observación pública y gratuita en el Poblado Prehispánico de la Atalayita (información en el 928 549653), pero el espectáculo podrá admirarse desde todos los sitios oscuros de la isla.

Y volviendo a los planetas, en el Firmamento destaca Venus, que se pone bastante pronto en el Oeste, así como Júpiter, que brilla muy alto en el cielo ya a la caída de la noche. El telescopio nos revelará sus bandas atmosféricas oscuras y sus 4 satélites mayores, unos puntos brillantes que danzan incansablemente a su alrededor. Cada vez más alto en el Este, Saturno deja a todo el mundo admirado al contemplar sus anillos, con frecuencia también acompañados por algunos de sus más de 60 satélites. También Marte, el Planeta Rojo destino de tantos programas de exploración, va acercándose a esta zona en su aparente movimiento retrógrado.

La Luna nos acompaña en la segunda mitad del mes. Sus montañas, sus mares y su cráteres nos sorprenden por su nitidez y su aparente cercanía a través del telescopio, dejándonos fascinados cada vez que los admiramos.

¡Cielos despejados para todos! ….

CONVERSATION WITH ANDY, CARLY AND MARISA

I had a great email conversation with photography enthusiast Andy Bailey the other week that i had to share his questions with our resident photographer Carly Higgins and here were our  answers: 

MARISA AND ANDY

I sell a lot of full spectrum cameras to astrophotographers but I have never been able to use one here in the uk due to light pollution. 

1) would I need to use a full spectrum camera or would a unmodified one be ok?

2) where is the closest point to corralejo where I could capture the Milky Way.  Could I achieve this in a single image or would I need to stack several shots?

3) I understand that at around 28mm I could use a maximum exposure of around 30 seconds. Does that sound right?

Could you advise what settings you would use?

I have various compact, bridge and dslr camera to choose from but would like to carry something practical and as cheap as possible. 

Hi Andy

You don't have to use a full spectrum camera. Most of our photos are taken with dslr's. As a collective we own full frame Canon body's and 3/4sensor bodies. Our previous photographer and the founder are Nikon lovers. As you can see from our website: www.starsbynight.es and Instagram account: instagram.com/starsbynightfv/ you can still produce amazing photos with basic equipment. 

We are very lucky in Fuerteventura that you don't have to go too far out to see the milky way or to see stars at night. We do observations just 5mins away from the RIU hotel near the dunes which is about 10min drive from the centre of Corralejo. You won't really see the Milky way in April. From July onwards we have a good view but September/October are the best months to see it with with the naked eye. Yes, you can take a photo of this in a single image. 

As for your 28mm lens... well that depends if its a full frame, APSC or Micro4/3  camera, what fstop of your lens ( this will change the light qualities depending on what sensor size you have)? What iso? as a general rule and depending on what you are shooting - be it milky way or stars in general, or light/star trails  you would be looking at anything from minimum of 20sec-30secs for a night photo ( depending on what you are photographing). 

If you are specifically looking at taking night time photos i  would recommend bringing a dslr with the widest and brightest lens you have. If this is not what you have then a good start would be something with a lens that is f4 and/or brighter (f2.8, f2, f1.8, f1.2 - are nice to play with). Yet you can still take a good quality photo with even a standard 18-55 kit lens if its only milky way that you want to shoot. 


CARLY AND ANDY

"Have you ever tried using a Ricoh theta S fir astrophography"

No I have never tried 360 degree photography

"The Milky Way is the object that I wanted to try and capture. I have several apps on my phone to help track it. I guess planets and nebulas would potential need longer exposures and equatorial mount. " 

You can capture images of the planets (looking like stars) using only a DSLR and actually as some are very bright you don't need a long exposure, but If you are looking to take more deep space images yes you would need a very long exposure so an equatorial mount or tracker of some kind would be essential.

"This is the style of photo I'd like to achieve. Astroscape!  Is the following a series of images (foreground / background) or still just the one?"( see above picture for reference)

This is all one image in camera, where possible I prefer to do this and reduce processing time

"If it's easy to explain how would you achieve the above image? "

This image is just a single exposure of 15s at f/2.8 and ISO 2000 and would be very easy for even a beginner to take, its the kind of image we will learn to take on workshops. It was a beautiful clear night and the milky way was clearly visible to the naked eye. There is of course a little post processing in Photoshop

"Finally one last question, assuming there was a clear sky with no foreground subject like the windmill, how would you advise achieving the image of the Milky Way like it is in the image above (assuming I was using an APS C with kit lens)"

You would need to use your widest angle lens to get as much of the sky in as possible, if you have a kit lens I am guessing something like 18-55mm which on a crop sensor is equivalent to 27mm on full frame - not massive wide but definitely workable. You also want to use the lowest aperture possible f/2.8 or below if you have it. Using the 500 hundred rule (something else we teach on the workshop) you can workout how long an exposure (shutter speed) you can have without starting to get star trails. For 27mm I would recommend no more than 18 seconds. You will then need to adjust your ISO to get a properly exposed image balancing it against the other 2 elements of the exposure triangle Aperture and Shutter Speed. It would be really great to have you attend a workshop as I can demonstrate exactly how to capture and image like this and work with you to get exactly what you want.

To note: content has been edited slightly to remove places and dates. 

who is Andy Bailey: INFRAREADYUK & BESTGHOSTHUNTING


The star of Bethlehem and the Three Kings

The Christmas story often brings to mind the tale of three wise men guided by a celestial light to the birthplace of Jesus Christ. Scientists have proposed various explanations for this "Star of Bethlehem."

It must be remembered that the Chaldeans who occupied Mesopotamia 2,000 years ago were assiduous observers of the night sky and were very familiar with the motions of the sun, moon and planets. The three kings were religious scholars known as the Magi - revered Babylonian astronomers and astrologists. They studied the stars and planets, interpreting the meaning behind cosmic events. Anything very unusual was considered an omen, so the star must have been both rare and visually spectacular, and if something very rare took place in the sky, the ancient skywatchers would have noticed it immediately.

After countless reading of articles i’ve summarised a few to ponder over:

  • This year, on August 27th, we witnessed a remarkable celestial event: a very close encounter between Venus and Jupiter. The two brightest planets appeared to almost touch each other in the night sky. Such a close alignment is a rare occurrence, and a similar event may have taken place over 2,000 years ago.

    The biblical story of the Star of Bethlehem intriguingly mentions two separate celestial events. One marked the beginning of the Magi's journey, while the other guided them to Bethlehem.

    Interestingly, in 3 BC, Venus and Jupiter were prominent in the pre-dawn eastern sky. On August 12th of that year, they came incredibly close, appearing only 9 arc minutes apart from the perspective of the Middle East. This would have been visible to people "in the east," as mentioned in the Book of Matthew.

    Ten months later, in June 2 BC, the two planets had another, even more spectacular conjunction. At sunset from Babylonia, they were separated by a mere 4 arc minutes, shining brightly in the western sky. As darkness fell, they drew closer together until they appeared to merge into a single, extremely bright "star."

    This historical celestial event has led some to speculate that it could be the explanation for the Star of Bethlehem. The close alignment of Venus and Jupiter, particularly the dramatic conjunction in 2 BC, would have been a striking and unforgettable sight.

  • The other theory is that the star of Bethlehem was probably not a star at all, and that it was more than one single event.  Astronomer-astrologers reported omens to the king; these were anything unusual - perhaps the moon moving in front of a planet, or a lunar eclipse. Their job was to interpret the meaning of these phenomena. There was also an elite class of diviners who created nativity charts. They recorded the positions of the planets, the Sun, the Moon and other astronomical data at the time of a child's birth, in order to make predictions about that person's life.  Some believe that the wise men from the East, or the "Magi" of the nativity, were astrologers from Mesopotamia, and that the star rising in the east was the horoscope that predicted the birth of a king. If so, they were reading a nativity chart in reverse; they had the prediction and sought to find the child who had been born at that precise moment.

  • Best explanation for this series of events is something known as a triple conjunction between Jupiter and Saturn - with the two planets coming close together in the sky three times over a short period. This happens when] you get an alignment between the Sun, the Earth, Jupiter and Saturn.  Tim O'Brien, associate director of Jodrell Bank Observatory in Cheshire, suggests this would have looked striking. "It's remarkable how much your attention is drawn when two very bright objects come together in the sky," he explains.And once the planets lined up in their orbits, Earth would "overtake" the others, meaning that Jupiter and Saturn would appear to change direction in the night sky. "You would [only] get a triple conjunction like this about every 900 years," he says, so for astronomers in Babylon 2,000 years ago, it would have been a signal of something very significant."A triple conjunction of this kind ticks all the boxes."

  • Another theory suggests that a very bright comet could have been the Star of Bethlehem. While comets are often described as "dirty snowballs" traveling through space, they can be incredibly beautiful and awe-inspiring. As a comet approaches the Sun, its ice melts, and solar winds blow this material into space, creating a spectacular tail. This tail, always pointing away from the Sun, is one of the key characteristics that has made the comet theory popular.

    One of the most relevant historical records is the sighting of a bright comet in the constellation of Capricorn in 5 BC, documented by Chinese astronomers.

  • A less likely, but well-known candidate is Halley's Comet, which was visible around 12 BC. Supporters of this theory point out that the 5 BC comet would have been in the southern sky as seen from Jerusalem, with the comet's head near the horizon and its tail pointing vertically upward.

  • Another theory suggests that the Star of Bethlehem could have been the light from a newborn star, known as a nova. Chinese astronomers recorded a new star in the small, northern constellation of Aquila in 4 BC. Proponents of this theory argue that this nova would have been directly over Jerusalem. Dr. Robert Cockcroft, manager of the McCallion Planetarium at McMaster University in Ontario, considers a nova a "good candidate" for the Star of Bethlehem. 

From all us to you at StarsByNight, hope you have a fabulous holiday period!


Scale of the Universe

This video is uploaded for educational purposes only, and in the honor of it's creators. Credited to: By Cary Huang Technical support by Michael Huang Copyright © 2012 Cary and Michael Huang (http://htwins.net) Music by Kevin MacLeod (http://incompetech.com)

A fantastic interaction that shows you how small we are and how big out there is. Quick fun.  By moving the scroll bar across the bottom, you can explore, while clicking on different items will bring up the descriptive information. Created by Cary and Michael Huang. If you want to play with the interaction click on this link: http://scaleofuniverse.com/

BUYING A TELESCOPE

I wrote this article in 2012 when StarsbyNight was just a passionate project that Karen (founder of SBN) would brainstorm with me on how to make her passion into a reality. We were both uber excited and it was a massive learning curve, even in buying equipment. After the years have passed we know a lot more and technology and equipment and brands  are evolving but the theory and idea behind buying your first telescope still apply. 

I just want to add , just like buying a new camera lens, that the most important characteristic of a telescope is its aperture — the diameter of its light-gathering lens or mirror, often called the objective. Look for the telescope's specifications near its focuser, at the front of the tube, or on the box. The aperture's diameter (D) will be expressed either in millimeters.  Your telescope should have at least 2.8 inches (70 mm) aperture — and preferably more.

The little bit I know about buying a telescope - 21/12/2012

Let me start by saying I am no expert. My experience in the past is selling and using photographic equipment in a professional capacity. I wanted to buy a telescope. After doing a lot of research I found its really similar to buying a camera. My colleagues are in the process of buying a high end telescope for our clients to view the night sky here in Fuerteventura, but I would like one so I can learn at home in the meantime. Sure I can use the fancy one they will buy, but I’m occasional user, I have more of an amateur interest rather than a professional one.

Questions I used to always ask my customers in photography. ‘What is the main purpose for?’ ‘In what conditions?” ‘How often would you use it? ‘Is it for you? ” ‘what previous experience do you/or other person have?”  “What do you really want to do with a it?” ‘how much money do you want to spend?”

I’ve done a lot of research. What I used to find often with cameras is people have too much money, buy the latest thing that has all the bells and whistles and never use it to its full capacity and it sits in the corner of the room gathering dust and just looking pretty. It appears its the same with telescopes. I also asked an ex colleague who worked for a company who specialized in astronomy gear and he said the same. He said. “ If someone wanted to spend under £200 I would probably recommend a good pair of binoculars that last a lifetime. Often what happens is the  kind of telescope people think they want and what they really need are two different things.”

I was told do not even consider a telescope that advertises it power on the box (300x, 500x,650x, 725x).  Avoid telescopes that are advertised by their magnification — especially implausibly high powers like 600×. For most purposes, a telescope's maximum useful magnification is 50 times its aperture in inches (or twice its aperture in millimeters).  Even the best telescopes are limited to about 50x-75x per inch (25.4mm) of aperture. The big number with a ‘x’ after it, I was told  is actually a  marketing ploy and high-powered scopes tend to have fixed eyepieces. What you want is a removable eyepiece. Also even though these type of telescopes appear attractive advertised with a high number, all this means is the high magnification the light is gathered and spread over a larger area making it fuzzy and faint.  You should look for the magnification in the eyepiece. You calculate a telescope's maximum useful magnification by multiplying the size of the lens or mirror in inches by 50.  I was also told that alower power/magnification in the telescope tends to provide a better viewing experience.

Start with binoculars. If you don’t have much money and don’t want to spend over the £200 mark you may be happier with a very good pair of binos. Even for travel its actually quite a good idea to have a back up anyways of about 10x50, 7x50 for a more general use or an 8x56 or a 9x63 for something a bit more ‘astro’ and its less heavier, but can be slightly expensive. Buy something you can use, not something you will get frustrated with . If it rattles when you shake it, try a different pair of binos. Good telescopes will be expensive regardless of the type. Cheap binoculars are much, much more useful than cheap telescopes and  good binoculars can last you forever.

What you can see with a pair of binoculars look at this link: http://www.lightandmatter.com/binosky/binosky.html

binocular basics: http://www.chuckhawks.com/binocular_basics.htm

Should I get a refractor or a reflector telescope?

Now I had to get some help to explain this from another website as I couldn’t think of the any other way to explain it but share someone else’s informationhttp://www.astronomyforbeginners.com/equipment/telescope.php:

Reflector

Reflectors have one open end and a curved mirror at the back. Light is reflected and focused by this mirror onto a secondary mirror, which reflects it up into the eyepiece. Refractors are generally cheaper per inch of aperture and are in general better for the beginner on a budget, but aren't very good for ground observing, as the image is upside-down.

Refractor

refractor1.jpg

A refractor has a lens at the front which refracts light from the stars and focuses it at the eyepiece (often by means of a 45° mirror-in which case the image is reversed left-to-right). The image is the right way up meaning that these are better suited if you want to do ground observing as well. If the optics are good, then refractors can form better images, but are usually more expensive per inch of aperture.

Reflector telescopes have one optical surface (less mirrors) and tend to be cheaper and have no chormatic abberration. The mirror in this type of telescope may need recoating after years of use but if you are a beginner like me and will not use it outside on a rough surface (and tend to use it on your balcony like me) and not have much money then these type are a quick fix to look at the sky.

Refracting telescopes the light bends from one medium to another. A refractor uses two lenses. At one end, is the larger lens is called the objective. On the other end is the lens you look through, called the ocular or eyepiece. Also an advantage of a refractor is that by default they have a totally clear aperture and are low maintenance. A disadvantage is that some telescope lens/glass pieces will give off  chormatic aberrations. The only way I can describe it with my experience is light fringing around a subject like you get where you take a photo with a cheap lens on a sunny day sometimes the object has a faint fuzz around it, also kind of like a lens flare.  Inexpensive refractors have problems with false color, but they are often more compact and therefore better for traveling. Also, refractors tend to give more pleasing views when used in the daylight. Most reflectors tend to be very large by comparison, but will have better light gathering capability.  I was also told that whether buying either telescope look out for2.4 inch (60mm) and 3.1 inch(80mm) refractors and 4.5 inch and 6 inch reflectors are popular for most amateurs. Your new scope should have at least 1 eyepiece, and often 2 or 3. An eyepiece is rated by millimeters (mm), with smaller numbers indicating higher magnification. A 25mm eyepiece is common and appropriate for most beginners.While a higher magnification eyepiece may provide more details, it may be harder to keep an object in view, unless you are using a motorized mount. They also require the scope to gather more light to provide a clearer image.

A lower power eyepiece makes it easier to find objects and keep them in view. Lower magnification eyepieces require less light, so viewing dimmer objects is easier.

Remember the view through a telescope with not be exact to what you see in astrophotography on the internet or magazines. Planets will be tinier and some not in fantastic colours .

I started getting lost looking at all the brands. It seemed for over the £200 mark, the Meade does a introductory good telescope for anything over the £350 you are looking at more advanced Meade, Newtonians, Dobinsonians and Stellarvuemodels.  Lower cost options can include Maksutov-Cassegrains and “long” achromatic refractors.  Schmidt-Cassegrain Telescopes (SCT) can also offer pleasing views of the planets.

I recommend trying before buying. Observe through as many telescopes as you can, and ask as many questions as you can think of. Ask about setup time, maintenance and accessories.

This is a great list of things to help you set up your basic kit: http://www.astronomy.com/Equipment/How-To.aspx

To me it really is buying an extension of my camera equipment. Learning about glass wear, apertures and brands from various websites, magazines and asking professionals has helped me. Hopefully it won't just sit in the corner of my room.

Disclaimer: I am not a professional but someone who is interested. Within our team we have a professional astronomer but I write this article out of pure interest and passion for a subject am learning about.


100000 STARS CHROME WORKSHOP EXPERIMENT

http://workshop.chromeexperiments.com/stars/ http://www.youtube.com/subscription_center?add_user=noobfromua 100,000 Stars is an interactive visualization of the stellar neighborhood created for the Google Chrome web browser. It shows the real location of over 100,000 nearby stars. Zooming in reveals 87 individually identified stars and our solar system. The galaxy view is an artist's rendition. FullHD Video preview.

We love this. Fantastic idea!

Called 100,000 stars  this is a fully-immersive 3D plot of (in fact) 119,617 stars. This is an interactive visualization of the stellar neighborhood created for the Google Chrome web browser/App. It shows the real location of nearby stars. Zooming in reveals 87 individually identified stars and our solar system. The galaxy view is an artist's rendition.

According to Aaron Koblin's blog posting to announce the project, "Visualizing the exact location of every star in the galaxy is a problem of, well, galactic proportions. With over 200 billion stars, capturing every detail of the Milky Way currently defies scientists and laptops alike. However, using imagery and data from a range of sources, including NASA and the European Space Agency (ESA), we were recently able to take one small step in that direction by plotting the location of the stars closest to our sun.

"The result is a new Chrome Experiment called 100,000 Stars that visualizes the stellar neighborhood. Using your mouse or trackpad, you can zoom in and out to explore our galaxy. Zooming in reveals the names of the most prominent stars close to our sun - click each name to learn more about it and see a digital rendition."

Koblin concludes, "As you explore this experiment, we hope you share our wonder for how large the galaxy really is. It's incredible to think that this mist of 100,000 measurable stars is a tiny fraction of the sextillions of stars in the broader universe." Author: Google Data Arts Team Sources: Programmed by some space enthusiasts at Google. Galaxy images provided by Wikipedia and ESO/IDA/Danish 1.5m/R.Gendler and A. Hornstrup. Star renderings derived from Wikipedia Sun images courtesy of NASA/SDO and the AIA, EVE, and HMI science teams. Star data provided by: HYG Database, by Astronomy Nexus Gliese/Jahreiß Catalog, by Dr. Wilhelm Gliese and Dr. Hartmut Jahreiss Bright Star Catalog (5th edition), by Dr. E. Dorrit Hoffleit and Dr. Wayne H. Warren Jr, and the Department of Astronomy at Yale University HIPPARCOS Catalog (3rd Edition) by the European Space Agency.

Click on this link and you can play with the real thing:

https://stars.chromeexperiments.com

ENG
ESP